
Fast answer
Treat the opening ambush as the introduction, then use the base as your reset point. Before a raid, select a fighter, check their weapon and recovery options, and decide what you need from the outing. Return with useful resources rather than chasing every enemy.
The first ten minutes
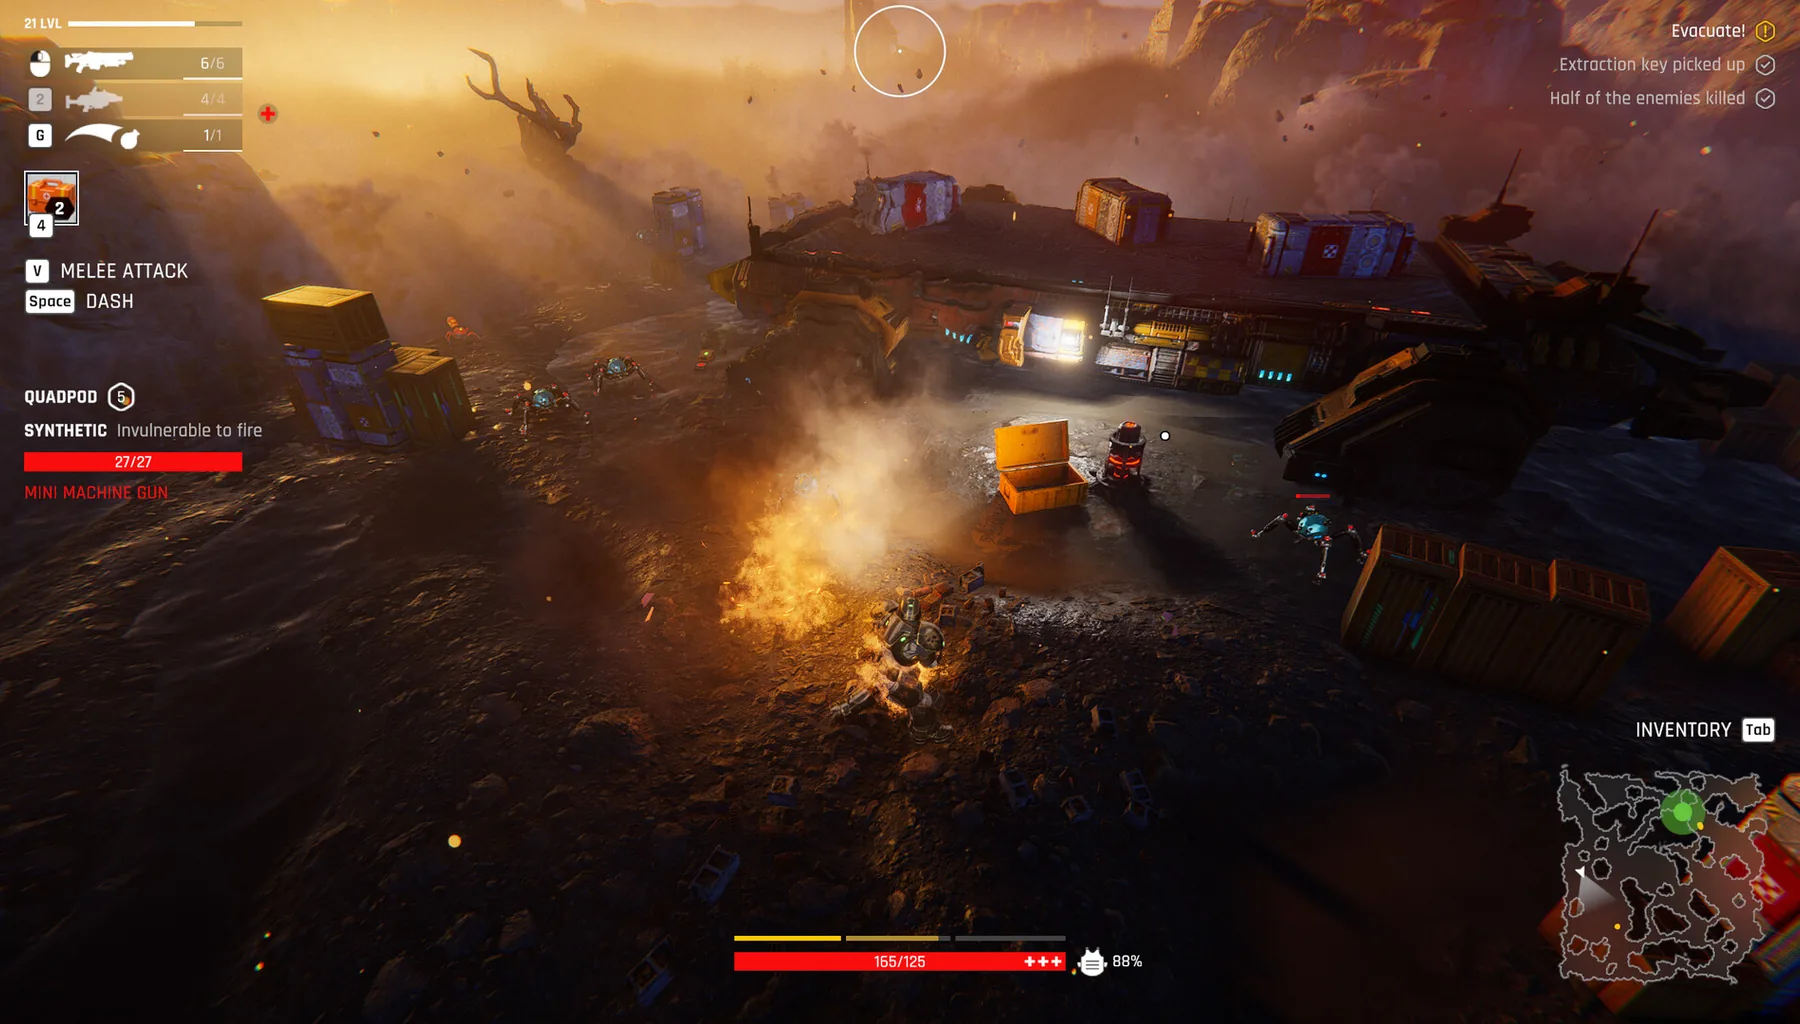
The demo starts with a chaotic ambush. Once the opening sequence ends, you get to select a fighter. The most useful first decision is not choosing an elaborate build; it is learning which fighter can survive a short sortie while you familiarize yourself with the controls, inventory and base.
- Finish the introductory ambush and choose your fighter.
- Inspect the base before starting another mission; find the workshop and clinic.
- Check whether the chosen fighter has a usable weapon and recovery items.
- Run one short raid with an explicit goal: bring home supplies, not necessarily eliminate everything.
The base → raid → recovery loop
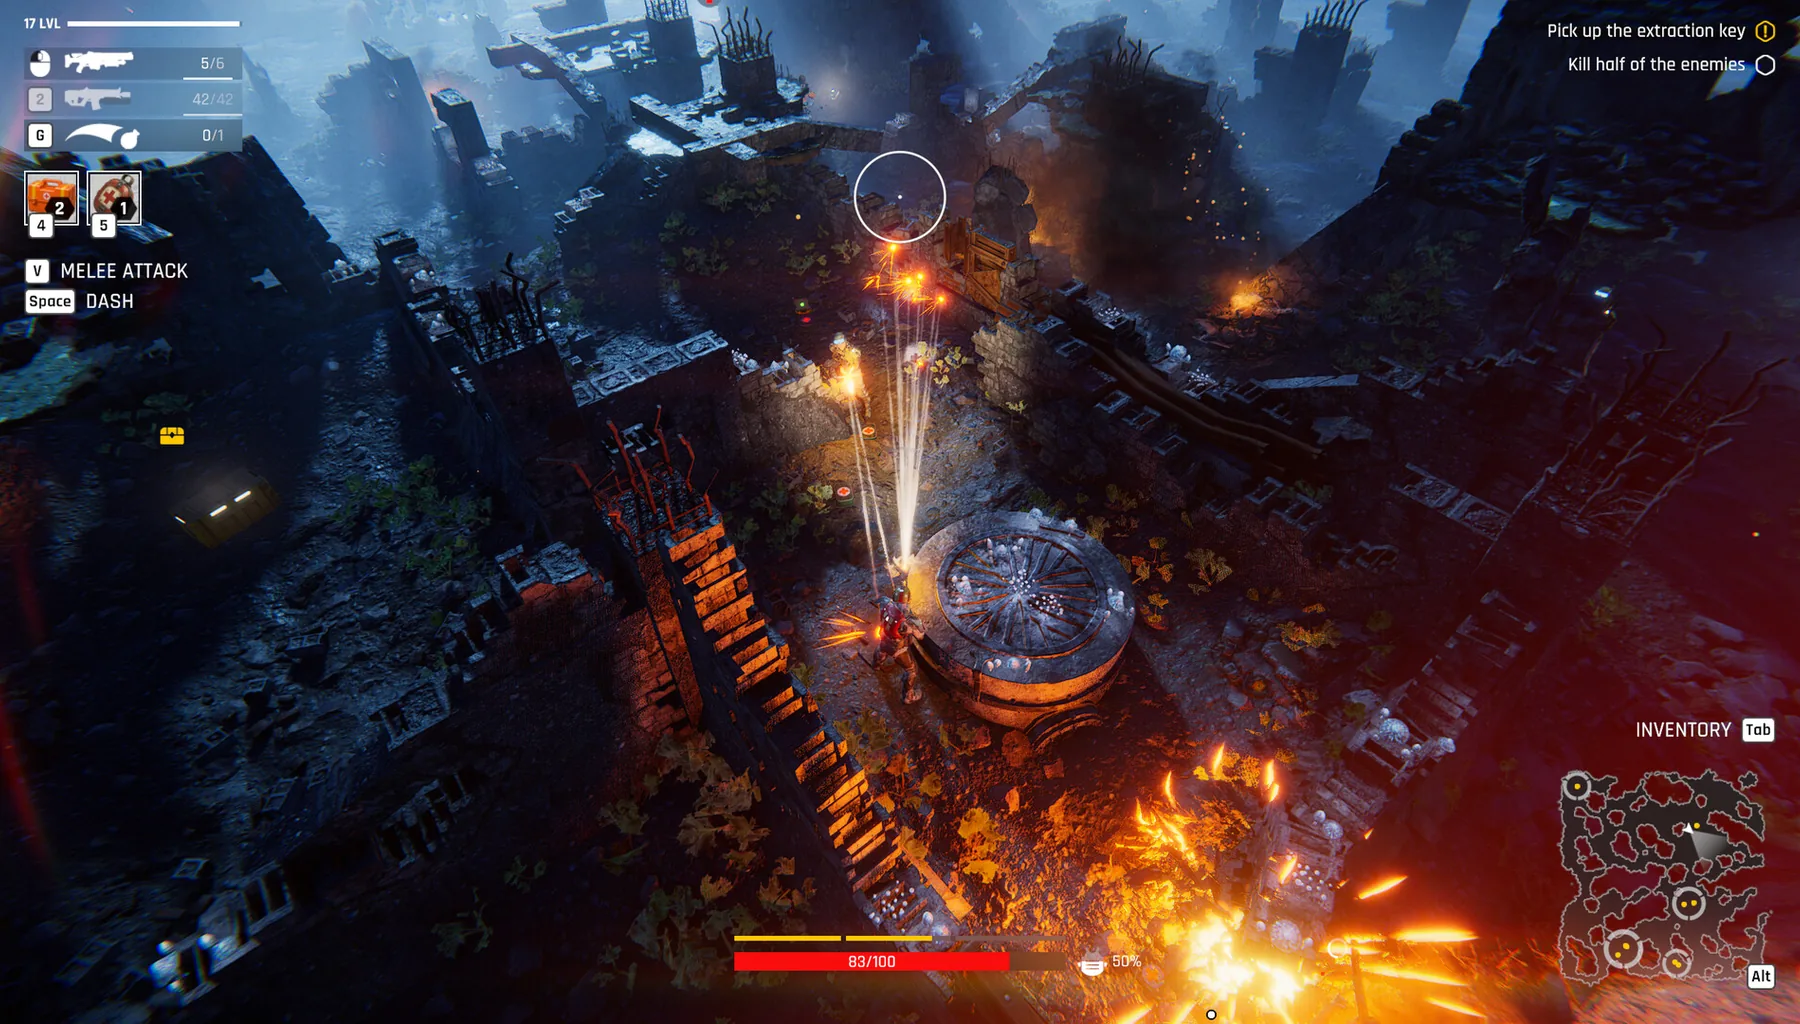
Between raids, the game shifts from real-time combat to preparing the next attempt. The official demo describes five raids; gameplay footage shows crafting queues, a clinic, staff assignments and power limits. Use these systems together instead of treating a raid as a separate arcade level.
- At base: inspect roster, resources, power and current equipment.
- Choose one bottleneck: healing, ammunition, a workshop item or a facility upgrade.
- Launch the raid that addresses that bottleneck; check its objective and extraction conditions.
- After returning, repair or replace losses before spending resources on optional upgrades.
When a fighter dies
A fallen fighter can sometimes be revived through the clinic/reanimator systems seen in demo footage. Recovery is not a universal free reset: available staff and related conditions matter. Confirm the actual option shown in your current build rather than assuming every casualty can always return.
- Open the clinic and inspect the fallen fighter’s available recovery actions.
- Check staffing, required items and relevant upgrades before attempting revival.
- If no revival action is available, use another fighter and protect your remaining roster.
Mistakes that cost the next raid
Players in the supplied footage repeatedly run short of resources, lose a selected fighter or discover too late that the mission space limits retreat. A sustainable run starts with a return plan.
- Do not bring an unequipped fighter just because they appear available.
- Do not spend power on a new room without checking remaining capacity.
- Do not assume you can backtrack through every door after it closes.
- Do not assume a demo recipe or damage number remains unchanged at Early Access.
See the actual demo in action
Recent demo first look · Goovaxer Gaming · footage sourced from a publicly available creator video. The video is embedded from YouTube rather than copied into this site.
Official screenshots and source material
For exact menu positions, current item statistics and real in-game appearance, use the developer's official media and game footage. These links open the original material; community artwork is not republished here without permission.